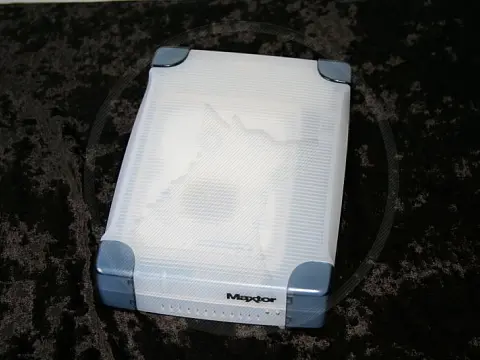
How To Upgrade Maxtor Hard Drive Caddy - Firewire VersionQuick guide on how to upgrade Maxtor hard drive caddy. This is the Firewire external drive pictured. Other models may or may not be similar.
This Maxtor series of drive caddies are a superb range. I have the 80GB Firewire model which has been used as a daily data drive for the past few years. I am now finding that I am running out of capacity. Rather than purchase a new external drive, I found I had a higher capacity 3.5" hard drive lying around that will no longer be used, so I decided to put it into the caddy. The procedure should be quite straightforward, and not very technical.
Caution! This process will invalidate any warranty on the device. Please make sure the device is out of warranty and that you are certain this is what you wish to do. Although this is a simple procedure and there is not much that can go wrong, I accept no responsibility for any damages to data, equipment or persons as a result of following these instructions.
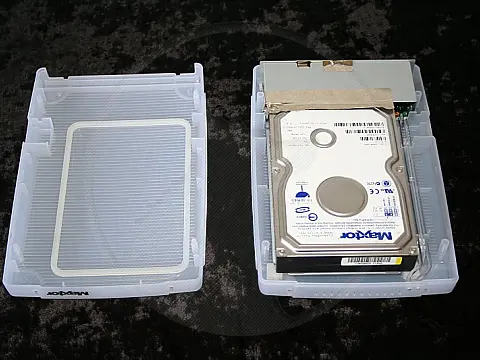
The case is held together with the two dark blue strips down the sides. These can be prised off to open the lid, which reveals the standard IDE hard drive and Firewire interface. Carefully unstick the copper shielding from the top of the drive and fold it back out of the way.
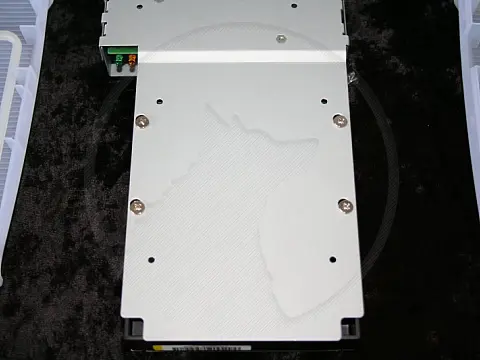
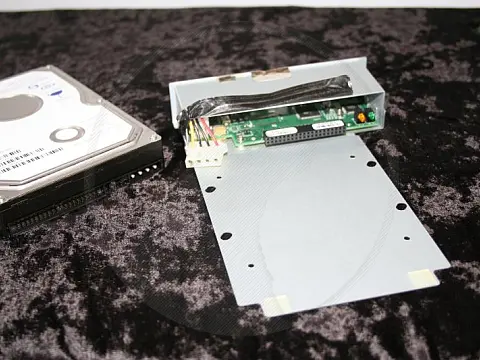
On the underside of the drive are four screws holding it in place. Remove them and the drive will come free. Unplug the power and data connectors.
Replace the drive with your new larger capacity drive; I'm fitting a 200GB Maxtor hard drive. Reassembly is the reverse of the process above.
Once back together again the drive will be recognised by Windows with its increased capacity and model details.
Happy Defragging!


