Boost Your Productivity with Virtual Desktops in Windows 11Unlock the full potential of virtual desktops in Windows 11. This step-by-step guide will teach you everything you need to know.
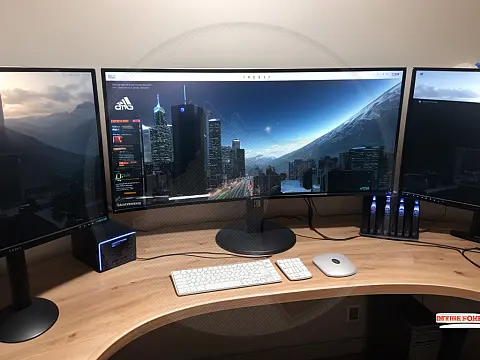
Virtual desktops are a key Windows 10 and 11 feature, allowing you to organise and manage your workspace better. They can help you separate business and personal duties or have a clutter-free desktop. This guide will lead you through the process of creating and switching between virtual desktops in Windows 11 and customising your virtual workspace. Prepare to increase productivity and streamline your workflow with Windows 11 virtual desktops.
What are Virtual Desktops?
Virtual desktops are a Windows 11 feature that allows you to set up multiple desktop settings on your machine. Each virtual desktop serves as its workplace, allowing you to organise and navigate between various groups of open windows and programs. Virtual desktops are especially handy for multitasking and separating business and personal tasks. You may have a clutter-free desktop and effortlessly transition between tasks or workflows with virtual desktops. It's an excellent approach to increase productivity and optimise your workflow on Windows 11.

How to Create and Switch Between Virtual Desktops in Windows 11
Using Windows 11 to create and switch between virtual desktops is a quick and easy method to organise your work and boost productivity. Click the Task View button on the Taskbar or press the Win + Tab to create a new virtual desktop. In the top left corner of the Task View window, there is a "New Desktop" button. Click it to launch a new virtual desktop. You can move between virtual desktops by pressing the Task View button again and selecting the desired desktop. To switch between virtual desktops, use the keyboard shortcut Win + Ctrl + Left and Win + Ctrl + Right arrow.
Customizing Virtual Desktops for Optimal Productivity
Customising your virtual desktops can boost your productivity and streamline your routine. Each virtual desktop in Windows 11 may be customised with distinct wallpapers, icons, and settings. Customisation lets you visually distinguish between different projects or jobs and effortlessly switch between them. To customise a virtual desktop, right-click on its thumbnail in the Task View window and choose "Customise." Select a unique wallpaper, rearrange icons, and customise settings. You may build a personalised, organised workspace that maximises productivity by customising your virtual desktops.
Managing Apps and Windows Across Virtual Desktops
One of the primary advantages of using virtual desktops in Windows 11 is managing your apps and Windows across several PCs. This functionality lets you keep your workspaces organised and seamlessly switch between jobs. Click and drag an app or window from the Taskbar or Alt + Tab view and drop it onto the selected virtual desktop to transfer it. You can also right-click on a program or window and select "Move to" to move it to a certain desktop. You can switch between virtual desktops using keyboard shortcuts such as Win + Ctrl + Left and Win + Ctrl + Right arrow.
Tips and Tricks for Maximising Productivity with Virtual Desktops in Windows 11
- Customise your desktops: Take advantage of the ability to create multiple virtual desktops and organise them based on your workflow. For example, you can have one desktop dedicated to work-related tasks, another for personal use, and another for specific projects or activities.
- Use keyboard shortcuts: Windows 11 offers a range of keyboard shortcuts to help you navigate and manage your virtual desktops efficiently. Learn and utilise shortcuts like Win + Tab to view all your desktops and Win + Ctrl + D to create a new desktop.
- Pin frequently used apps: Pinning your frequently used apps to the Taskbar makes accessing them across different virtual desktops easier. Right-click on an app icon and select "Pin to Taskbar" to keep it readily available.
- Customise wallpapers: Personalise each virtual desktop by setting different wallpapers. This visual distinction can help you quickly identify and switch between desktops.
- Use Task View: Task View is a feature in Windows 11 that allows you to see all your open windows and virtual desktops at a glance. Use this view to switch between tasks and desktops easily.
- Group related apps: Arrange your apps on each virtual desktop based on their relevance or purpose. Grouping related apps can help you stay focused and organised.
- Utilise Snap Assist: Snap Assist is a feature that allows you to snap windows to different areas of the screen. Take advantage of this feature to multitask efficiently across virtual desktops.
- Customise touchpad gestures: If you're using a laptop with a touchpad, customise the touchpad gestures to navigate between virtual desktops effortlessly. Check your device settings to explore available options.
- Experiment with different layouts: Don't be afraid to experiment with different layouts and arrangements of your apps and windows. Find the setup that works best for your workflow and productivity.
- Take advantage of virtual desktop managers: If you frequently switch between virtual desktops, consider using third-party virtual desktop managers. These tools offer additional features and customisation options to enhance your virtual desktop experience.
Implementing these tips and tricks can help you maximize virtual desktops in Windows 11 and boost your productivity.


