Complete Guide to Macro Photography for BeginnersThe miniature world of macro photography of insects, bugs and plants offers some of the most powerful nature photographs imaginable.
This article is part of a series of articles. Please use the links below to navigate between the articles.
- Introduction to Photography Course - Definition & Types of Photography
- How Cameras Work and Terminology Explained for Beginners
- What is the Exposure Triangle and How Does It Affects Exposure?
- Understanding Camera Shutter Speed for Beginners
- Aperture and Depth of Field in Photography Explained
- What is Digital Photography ISO and Grain?
- How to Understand Camera Lenses and Focal Length
- Essential Photography Composition Rules To Improve Your Photos
- Camera Metering Modes Demystified - Which One To Use
- Camera Shooting and Exposure Modes Explained
- Complete Guide to Flash Photography for Beginners
- When and How To Use A Camera Tripod In Photography
- What Are White Balance And Colour Temperature Camera Settings?
- How to Use Camera Histograms in Photography for Perfect Exposure
- Master These 10 Camera Settings For Your Best Photographs
- Why You Should Be Shooting in RAW - Reasons and Benefits Explained
- Essential Photo Editing Techniques to Enhance Photographs
- Complete Guide to Macro Photography for Beginners
- Beginners Landscape Photography Guide for Stunning Photos
What is Macro Photography?
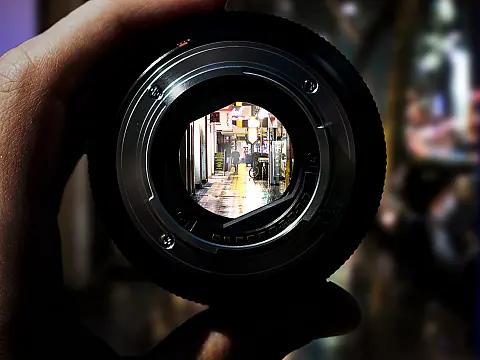
The world looks very different in a close-up. When you peer through a macro lens it changes your appreciation for what is happening right beneath your feet. Ordinary, everyday objects can be transformed. Potential subjects abound, although outdoor photographers are naturally more drawn to capturing the intricacies of flowering and non-flowering plants, insects and mini-beasts.
Shooting close-up does, however, present some technical challenges, but with practice, these are hurdles you can soon overcome. Mastering the technique is just the beginning, though. Being able to produce technically good close-ups won't satisfy your creative side for long.
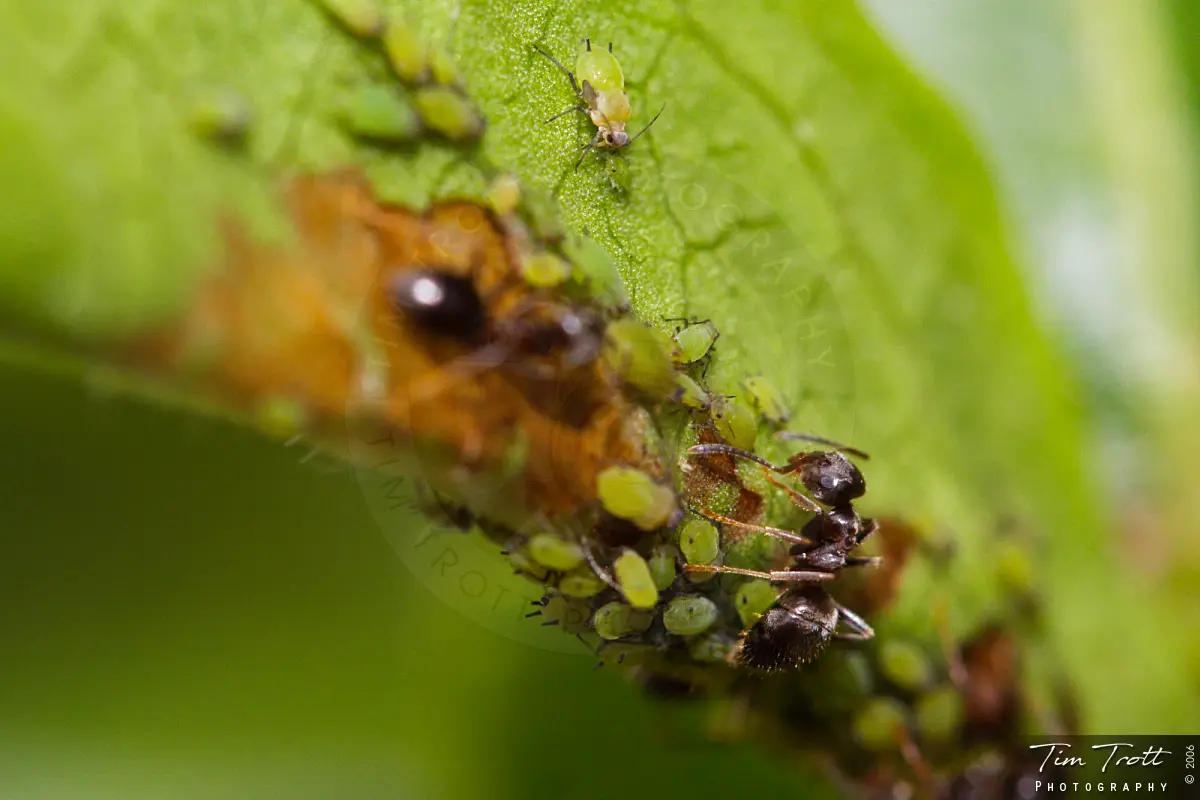
Macro photography is close-up photography of small subjects, including things like insects and flowers. True macro photography is defined as photography where the subject is reproduced 1:1 or larger on the sensor (or film). What this means is that you must take pictures where your subject is the same size as your camera sensor or smaller, and it fills the frame. So, if your camera sensor is one inch wide, you would be photographing something 1 inch or smaller and it should fill the frame.
Macro Photography Equipment
In insect macro photography, close-up filters and macro lenses are some of the essential items to complement any camera. In general, a digital camera's built-in macro capability is unable to achieve a magnification good enough to capture fine details of most insects. The macro mode of most cameras requires you to be as close as 2-3 cm away from the subject. This is far too close, and most insects will naturally flee when something gets this near. Zooming doesn't help either because at the distance they require to focus, the magnification is too small. You can read more about telephoto and closeup filters in my comparison of lenses and close-up filters with true macro lenses.
The Fuji S602, for example, has a maximum zoom of 210mm and at this focal length, the lens requires a minimum distance of around 100cm to focus. At that kind of distance, the magnification is not sufficient for close-up photography. A close-up filter or macro lens can solve this problem by reducing the distance that the lens requires to focus. When this distance is reduced, the magnification is increased.
Apart from close-up filters, there are several other kinds of equipment for making the image the required size. These range in price from £15 for a close-up filter to £1,500 for a top-quality macro lens, although lenses are generally around the £400 mark.
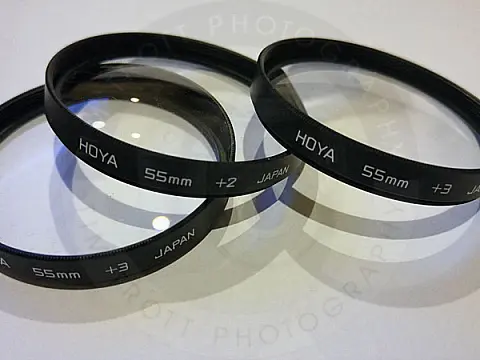
Close-up filters, available with dioptres from +1 to +10 are screw-in or slip-on attachments that provide close focusing at a very low cost. The quality is variable, with some two-element versions being excellent. This method works with cameras that have built-in lenses. These lenses, commonly referred to as diopters, decrease the minimum focusing distance, allowing the camera to get closer to the subject. These can be stacked, but the higher the diopter, the smaller the depth of field.
A dedicated macro lens might be optimised to provide its best performance at a magnification of 1:1. Some macro lenses, like the Canon MP-E 65 mm f/2.8, can achieve even better magnification, up to 5:1 macro, bringing the structure of small insect eyes, snowflakes, and other minuscule but detailed objects into striking focus.
You can also place an extension tube between the camera body and the lens. The tube has no glass in it; its sole purpose is to move the lens farther from the film or digital sensor. The farther the lens is, the closer the focus (and the bigger the magnification). Also, less light will reach the film or sensor, therefore a longer exposure time will be needed. Tubes of various lengths can be stacked together, allowing for increased levels of magnification while working distance decreases. With tubes attached, the camera will often lose the ability to focus to infinity. A bellows attachment between the camera body and the lens will work in the same way, except that a bellows extension is adjustable.
You can also attach a telephoto extender between the camera body and the lens. A 1.4x or 2x teleconverter gives a larger image, adding macro capabilities. As with an extension tube, less light will reach the film or sensor, therefore a longer exposure time will be needed. However, the working distance remains the same as without the teleconverter.
Tripods can be an essential aid. They provide stability, assist focusing and allow the photographer to review and fine-tune their composition. Light and depth of field can be in short supply when working close to the subject. Tripods allow the use of smaller apertures and slower shutter speeds without the risk of a camera shake.
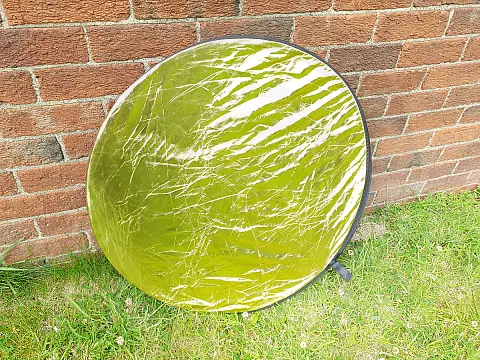
Finally, reflectors can be a great lighting aid for macro work. Using the reflector, you can angle light onto the subject. The intensity of the light can be altered by simply moving it further away. You can see the effect instantly, and they allow you to use natural light to illuminate small subjects and relieve harsh, ugly shadows. They come in different colours and reflective surfaces too, so you can tailor the effects they generate.
Camera Settings for Macro
The depth of field is an important consideration in macro photography. This makes it essential to focus critically on the most important part of the subject. Parts of the subject that are even a millimetre closer or farther might be noticeably blurry. The depth of field can be increased by using a narrower aperture (f/11 or greater).
The camera's macro program is all but useless, as it serves no purpose other than restricting the optical zoom range. I almost always use manual mode for close-up work as it allows me to adjust the aperture and the shutter speed myself.
Also using the lowest ISO setting possible will reduce the amount of noise, and create a higher quality print, but if you are using closeup filters or extension tubes you may need to increase the ISO to improve shutter speed.
Using a flash will illuminate the subject well, reduce shutter speed and increase the overall quality of the image, but you may only get one shot using the flash as most insects will flee. In-built flashes will almost certainly be of no use - you will need a dedicated macro ring flash which will evenly illuminate the subject without the camera body casting a shadow.
Finding and Studying a Close-up Subject
Capturing close-ups with impact begins with the choice of subject. Flowers, wild or cultivated, are always popular. Non-flowering plants including mosses, lichen and fungi are also photogenic, while the beauty of insects, amphibians, reptiles and other miniature creatures is only revealed closeup. By isolating key areas of detail or texture, like peeling bark, a thorn or a leaf, you can make everyday subjects appear extraordinary.
Spring is the best time of year to find subjects. The countryside, woodlands, gardens and parks will be brimming with fresh growth and life. Buds, uncurling leaves, colourful blossoms, emerging insects and dewy cobwebs are all subjects that suit being shot close-up.
Some insects, particularly dragonflies, are highly territorial. Take time to observe their movements. Having established where they regularly land to rest, position yourself nearby. Then, when the insect next lands, you will be ready to slowly move into a picture-taking position, avoiding sudden moves.
Photographing Insects
This requires lots of patience and practice. Don't be too disappointed when your first images are blurred and out of focus. That is if the insect stayed still long enough to photograph. Insects are very cautious animals and will flee at the first sign of danger. It takes a lot of practice to approach an insect without it running away.
Composition Rules to Bear In Mind
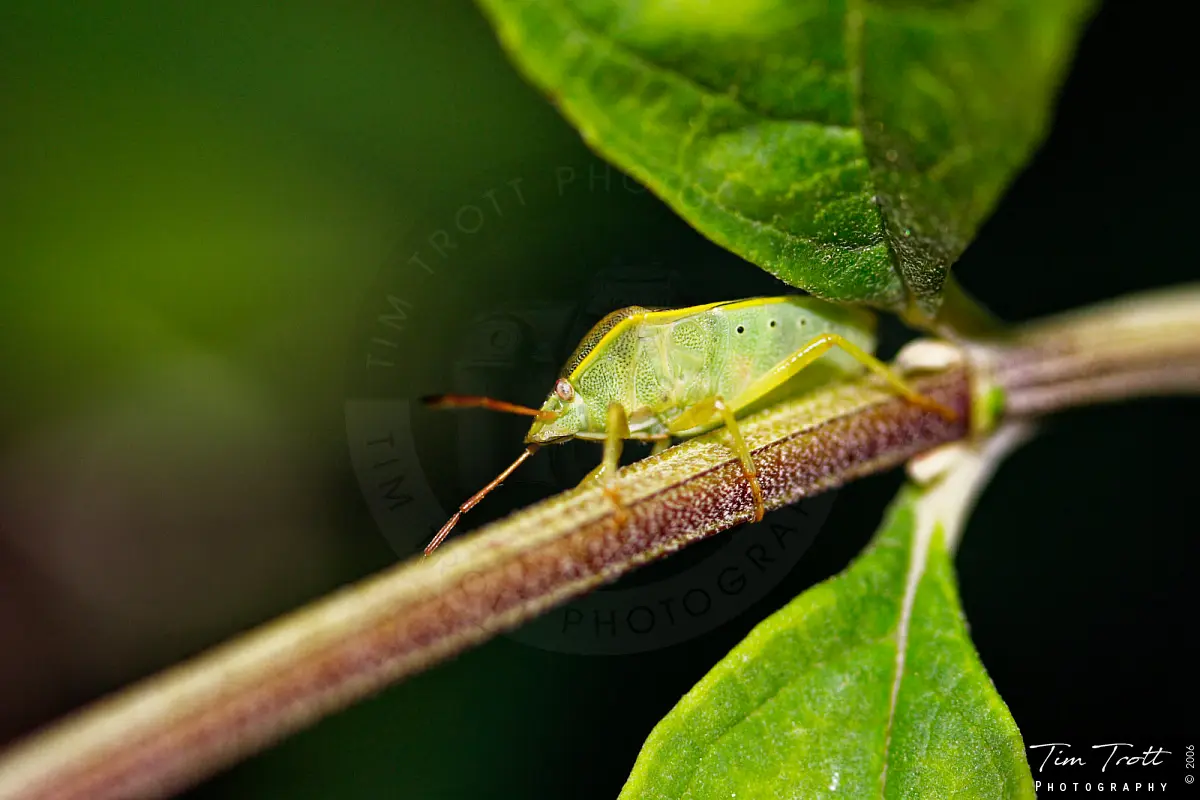
Subjects Should be Sharp and in Focus
A bit of a no-brainer on this one... essential for all photographs is to focus on the subject, but for macro photography, it is very difficult. At close-up the depth of field is reduced to a few mm or less, so once the camera has auto-focused, any hand movement, or movement of the subject, will result in an out-of-focus shot. Use a shutter speed of at least 1/100 or 1/lens focal length, to minimise handshake, and take the picture as soon after auto-focus success.
I have also found some success at setting the focus to the closest and moving the camera itself back and forth until the subject falls into the "sweet spot". You can also get a macro tripod which has a focusing rail which does exactly this.
Be Mindful of the Background
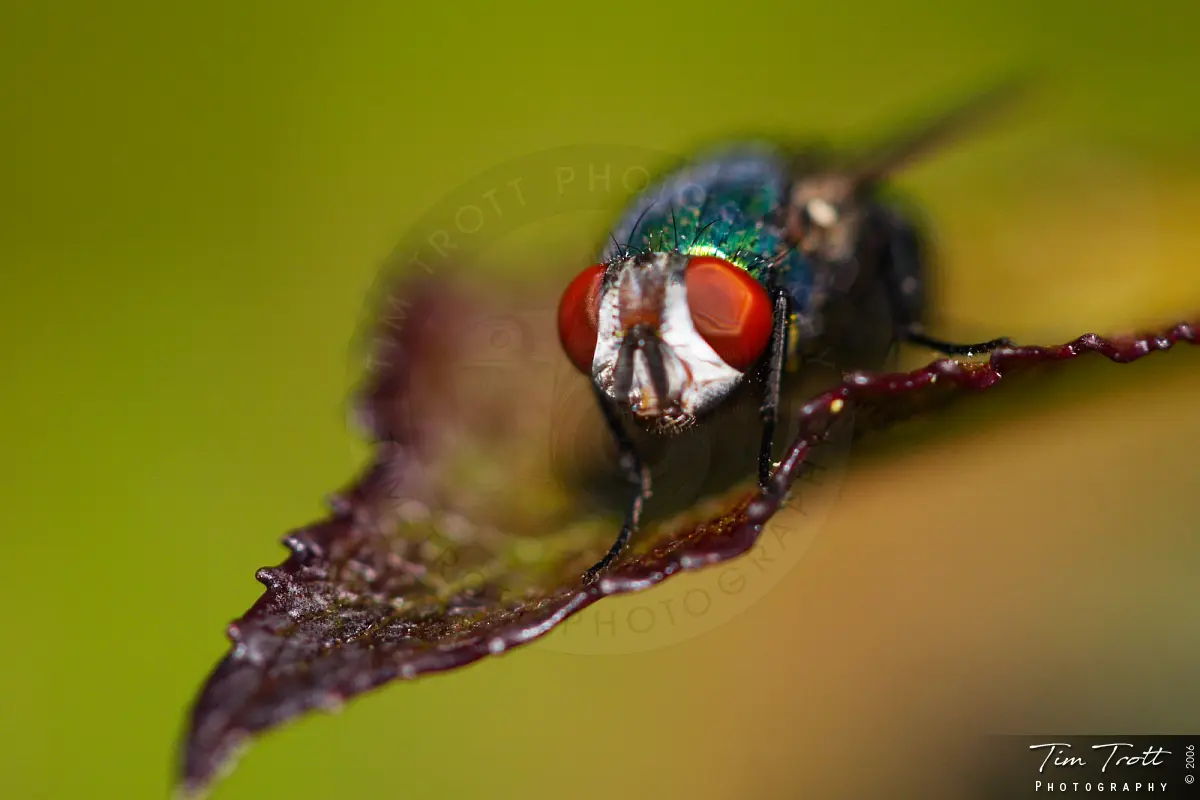
A good background should be smoothly blurred-out. The effect is not difficult, only requiring a higher zoom with a lower diopter. The further the subject-to-background distance, the more blurred the background is.
The background should also make the subject stand out, so plan your shot well. Photographing a spider against a complex background will make it difficult to see, the same goes for photographing a green insect among leaves.
Composition and Framing
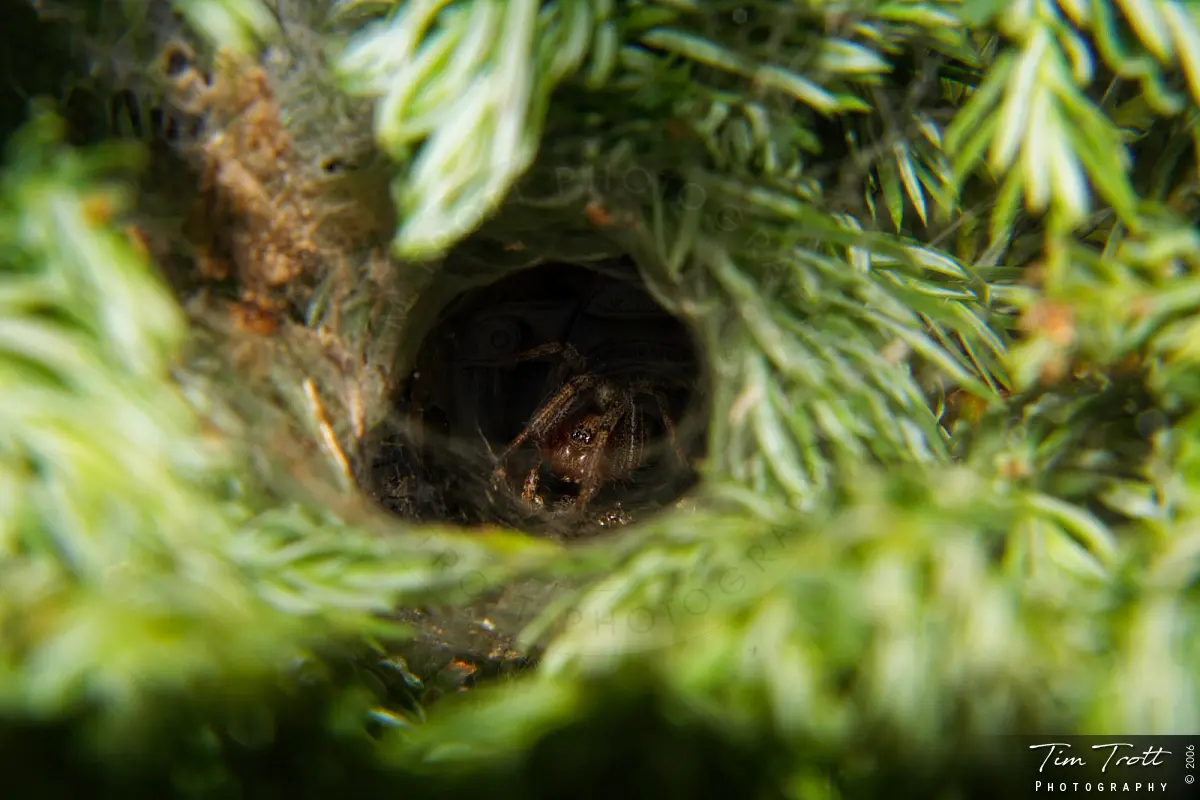
This is the final framing of the image and presenting it. Try and get the insect to face the camera at an angle (not directly on), or a side view. Try to apply the rule of thirds to all your photographs. These simple points will enhance the image no end. Sometimes it is not possible to apply the rule of thirds in the field, you need to focus and snap as quickly as possible before the subject flees. In these cases, you can crop images using Photoshop or similar.
Top Macro Photography Tips
Here are five top macro photography tips to help you get the perfect macro photographs.
Ensure Your Subject is Pristine
Macro photography will highlight any defect in your subject, potentially looking ugly and distracting in the final shot. Examine your subject carefully and avoid tatty or damaged insects, flowers, fungi or foliage. Finding pristine subjects can be time-consuming but it will be time well spent in the long run.
Focus on the Subjects Eyes
As with portrait photography, it's important to always focus on the subject's eyes when photographing animals, insects and creepy crawlies. It's rare for an image to succeed if the subject's eyes aren't pin sharp. Eyes are an engaging part of a face and help us to connect with the subject. It is why the eyes are one of the first things we instinctively look at.
Keep Your Camera Parallel to the Subject
In macro photography, available depth of field is at a premium and you often only have a few mm to play with. To maximise depth of field, keep your camera parallel to the subject. If the camera's sensor plane isn't parallel to the subject, parts of it will drift out of focus.
You can also try shooting your subject from above. An overhead perspective looking directly down on the subject can produce some creative effects which alter our perception of the subject and distort scale. It can also be used to highlight the subject's shape and form and turn it into a more abstract interpretation.
Backlighting your Subject is Best
The direction of lighting will greatly influence the look, feel and mood of your photos. The most dramatic form of light is backlighting where the subject is lit from behind. Backlighting works particularly well with translucent subjects, like petals, foliage, insects wings and water droplets. The light which passes through the subject reveals fine detail, such as the tiny intricate veins of a leaf.
Respect Your Subject Welfare
When shooting natural subjects such as insects, beetles, spiders, reptiles, wild plants and flowers, always place the welfare of the subject first. Try not to disturb your subject and be careful where you tread. Whilst tempting to get a better shot, don't cut or pick flowers. Finally, be careful not to squish anything when kneeling or lying down.
I hope you have found this interesting enough to give it a go and let me know how you get on!
