10 Top Tips On How To Get Great Photos in Low Light and Bad LightIts possible to get vibrant outdoor photos even in bad light of the dullest days. Here's a few simple tips to get great photos in bad light.
Bad light does not imply you must write off a day photographing. If it's dark and murky outside, you can still get some great wildlife photographs. Nobody wants to sacrifice time in the field, whether we're trying to earn money or enjoying spare time outside with a camera. If you get up to find that the sunshine is lacking, don't abandon your plans just yet.
Turning poor light to your advantage can be more straightforward than you assume with these simple techniques. If you follow these tried and tested tips, you'll be surprised at what you'll be able to achieve in what would be an otherwise frustrating lighting situation.
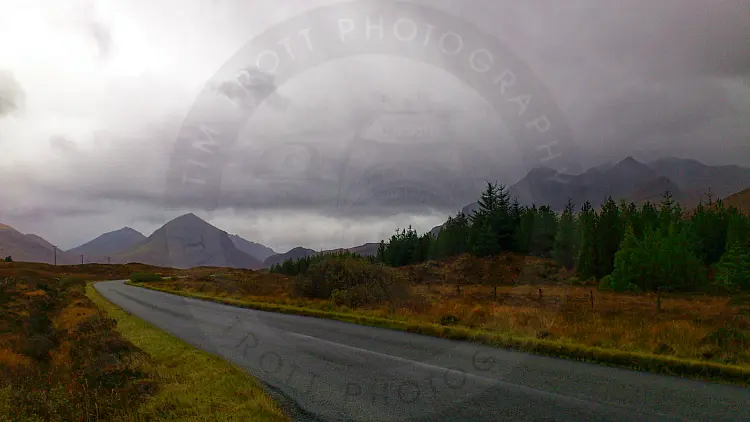
I'll be the first to admit that bad light isn't generally the best way to go if you are looking to take colourful wildlife pictures, however, we can't always afford to wait for picture-perfect conditions. You need to learn how to work with and make the best of, what's there.
What is Bad Light?
Bad light is considered to be any condition which makes it harder to achieve technically well-executed, aesthetically interesting photos. At this time of the year, in the winter months, it's usually dull, low light. This kind of bad light makes it difficult to get fast enough shutter speeds for wildlife and makes images look flat and lifeless. Another form of bad light occurs when a weak sun abruptly breaks through the pervading murk. This can often confuse camera meters and ruin good compositions. Dull and murky days with light cloud cover can be a nuisance too. The sky most often becomes pale and uninteresting and intrudes on pictures. This creates exposure problems if wildlife subjects are much darker.
After that, there are dark cloudy days, with or without drizzle, which require you to photograph at an unacceptably high ISO setting. High ISO makes it difficult to produce pin-sharp pictures with the requisite depth of field. Mist and fog may appear more promising, but as with most low-light conditions, if you're not careful the finished results can end up muddy rather than moody, with little tonal variety to provide that all-important visual lift.
How To Get Great Photos in Bad Light
The key trick to photographing in a bad light is to adopt a glass-half-full mindset. Look for the positives in any given bad lighting situation and let these be your guide on what to photograph and the way to do it.

One big benefit is that you are free to shoot from any angle when it's dull since you don't have to consider the direction of the light. You can photograph all day when typically, midday would be a no-no. Wildlife is more lively on overcast days too, so there's a higher probability of shooting fascinating behaviour.
Change Your Approach in Low Light
Be versatile and let bad light conditions dictate what you do. Analyse the pros and cons of the light's impact on shutter speeds, depth of field decisions and the tonal range in your finished pictures before deciding on a subject. If something appears too dark through your viewfinders, it most likely is. Hunt around for a different subject in brighter surroundings.
Green vegetation can register extremely well in overcast conditions. You wouldn't set out to photograph a winter goose in flight when the sky's pale grey and there's not enough light to freeze the wingbeats. Ask yourself instead "What would work well in these conditions?" A frame-filling close-up of the resting goose's plumage might be one solution. The flat, shadow-free lighting is perfect for rendering fine feather detail brilliantly and the tight crop will exclude a boring sky.
Low Light Subject and Composition Rules
In perfect conditions, good light does all the hard work for you. Good lighting can be the whole point of a picture. Find a nice subject and you're there. In bad light, you need to put a lot more effort into creating a picture of what's to be had around you. Subject selection and composition considerations are essential. The right subject, framed in the right way, can help negate many of the problems posed by bad lighting.
Design Your Image with Bad Light in Mind
Think carefully about the design of your picture in poor light. Remember that content and composition can trump poor light if you get this right. Give backgrounds as much weight in your overall thinking as the subjects themselves. In many cases, they're what makes the image work. Keep compositions simple and uncluttered when shooting in bad light as these are the most direct in terms of eye appeal, and the most forgiving if you haven't got the light on your side. Clean lines, graphic simplicity and photographs emphasising shape and pattern will work best. Overcast conditions will offer softer, flatter lighting. Frame tightly and crop closely so the emphasis of your pictures are very clear on form and content.
Photographing in the Rain
There are several critical problems with rain, especially heavy rain. Firstly, it gets on your lens and water drops create large distortions and dark spots in photos. Secondly, rain greatly reduces visibility. Large mountain vistas are out, however, enter some woods and you'll notice that the rain has a transformative effect.
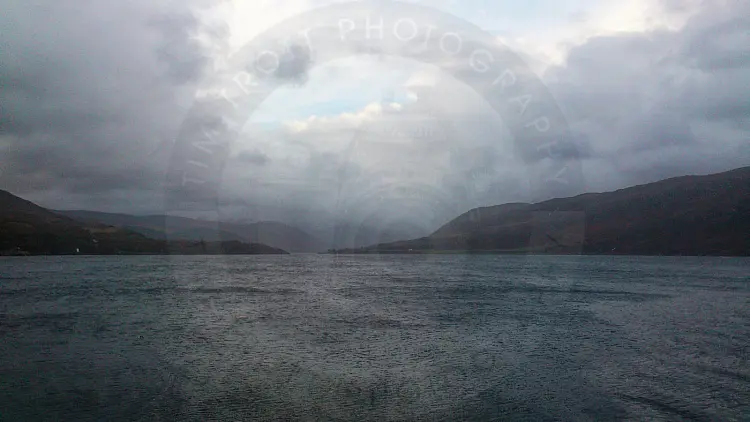
Heavy rain helps create a sense of depth in a photo. Woodland environments are often busy and chaotic and it's difficult to describe the distance between trees in the photograph. Rain can help differentiate between the layers in the woodland and create a sense of depth to the scene.
Low Light Photography Solutions
You'd be forgiven for thinking bad light days take away photographic opportunities. The truth is that they open more options for you. Overcast lighting in fact will give you lots of potential to get creative in wildlife photography.
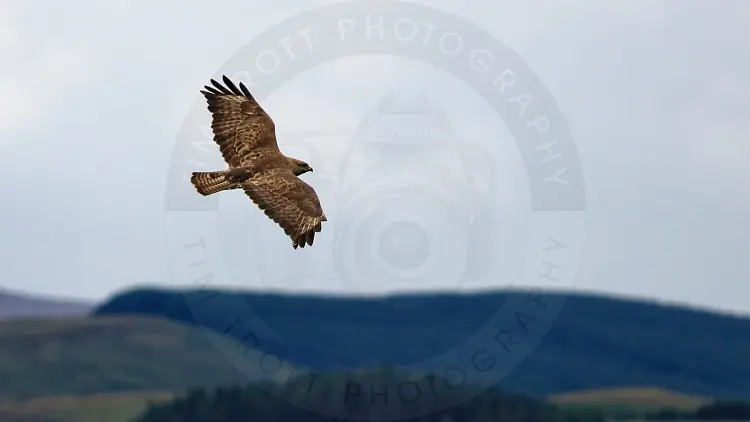
I discussed earlier that you should do away with the unattractive and dull skies from your pictures. Like all rules, there are exceptions. You can make dull skies a creative addition to pictures if you make the monotonous paleness an integral feature of your photograph. For this to work, you need pale-toned subjects like the tones in the sky. Bear in mind you'll need a high ISO to freeze the motion for flight shots in such conditions.
Slow Down Your Photography in Low Light
Low light conditions are ideal for getting creative with animal action shots too. Don't panic if you can't get fast enough speeds to freeze movement in a bad light. All you need to do is turn the poor light to your advantage. Using slow shutter speeds, you can achieve creative impressionistic photographs where motion blur conveys a real sense of a subject's speed. Experiment by dialling in a slow shutter speed of around 1/15 to 1/30 sec and panning or tracking a fast-moving animal or bird, firing the shutter as you go.
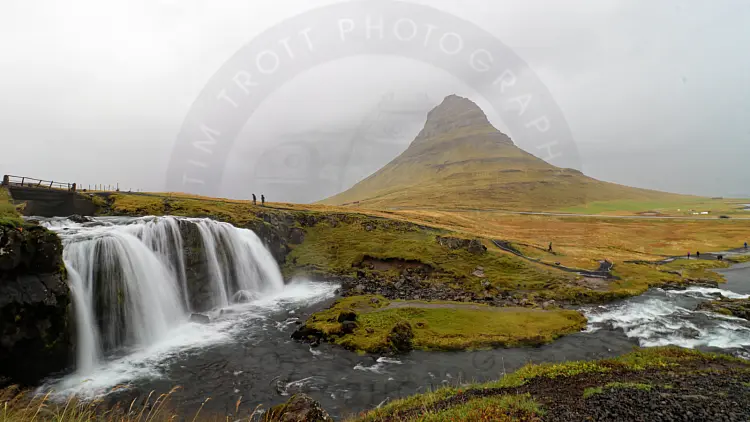
Another trick in low light conditions where you have a stationary or static subject close to water is to use very slow shutter speeds to blur the motion of the flowing water.
Make Use of Flash in Bad Light
Flash is typically a last resort as it's generally better at killing atmosphere than creating it. However, there are occasions when the use of fill-in flash may give an otherwise drab image that little lift. If your subject is in heavily dappled light, such as a bird perched in a tree, then the flash will fill in the deep shadows and allow the camera to meter an otherwise excessively contrasty scene. Even a built-in camera flash can give a helpful dab of light, to add sparkle, colour and texture on a heavily overcast day adding catchlights to the eyes of an animal in shade or sheen to the iridescent carapace of a beetle.
For many wildlife subjects, on-camera flash is just too weak, and a more powerful flashgun is required. Modern flash units are very sophisticated and can usually produce acceptable results in automatic daylight balancing mode. You may find that some flashguns overlight subjects, so chances are you'll need to dial in some minus flash compensation.
Shoot Whatever the Weather
There's no hiding the fact that bad light often goes hand in hand with lousy weather like rain, snow, fog, and mist. Often you simply must admit defeat and pack away your equipment, however, there are also plenty of bad weather days when it will pay dividends to stay out there. Make sure you explore every possible avenue.
Snow creates flat, shadow-free lighting which flatters some subjects. What colours remain in the ensuring wonderland, like the bright flash of a robin's red breast, really pop in pictures. Play around with slow shutter speeds to record the snowflakes around them as exaggerated impressionistic stripes as well as photograph at faster speeds to capture them as soft flakes. You can also try using this technique when photographing wildlife in the rain.
Misty weather is excellent for cranking up the mood in photos however it can be tricky to get right. The overwhelming majority of the time your resulting photos don't quite match the way you experienced this ethereal weather condition. It can help to incrementally overexpose photographs taken in misty conditions, perhaps up to a stop, and then assess them at the editing stage. You need to make sure you have a definite point of interest in a misty photograph.
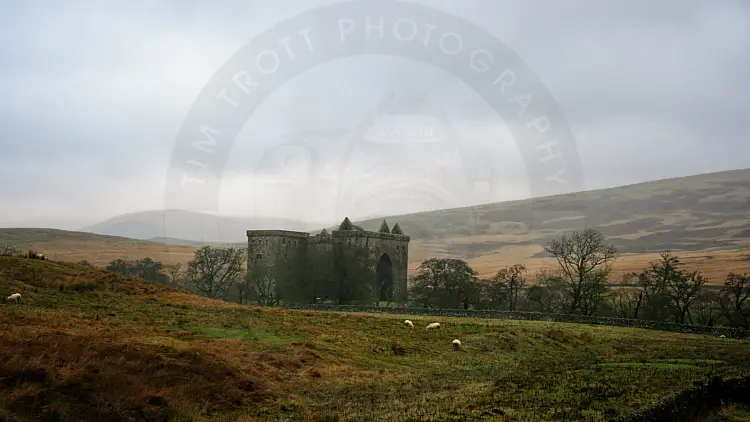
Learn to love dramatic storm clouds. Don't discount slate grey skies, particularly if there is a chance of some sun poking through. They make great backgrounds for flight shots and it's often more practical exposing for a dark grey sky than a pale one.
Quite frequently in the UK, overcast weather conditions turn out to be full-blown storms. Just sometimes, grim weather like this offers us one of my favourite bad light scenarios - rolling thunderclouds. You need a lot of good fortune to capture the sudden burst of sun to light up your grey sky and when it does, make the most of it. It results in probably the most dramatic backdrop.

Focusing Tips in Low Light
Most autofocus systems will struggle in low light, so manual focus is nearly always the best choice. Live view permits you to get better manual focus in low light scenes as you'll be able to get a larger image on the LCD and zoom in to check the focus outcome.
If it is really dark, such as astrophotography nightscapes, you can always shine a torch on your subject to illuminate it enough to focus.
You can also set the lens to infinity by lining up the focusing ring marker with the infinity symbol.
Post Processing Solutions
It's always best to keep post-processing to a minimum, however with pictures shot in bad light, a bit of careful attention on the pc can work wonders.
Shooting in RAW means much of this can be carried out non-destructively in RAW conversion software such as Adobe Lightroom, but even if you shoot JPEGs, you can achieve a lot in Photoshop. Stay clear of the brightness and contrast sliders, instead make tonal changes using histograms and curves. If you've not attempted these, they're very simple to learn and what you see is what you get previews, combined with intuitive slider controls to make adjustments very simple. Going a step further and learning how to use Photoshop layers and masks to change selective areas will provide you with even greater control.
With all these adjustments, keep in mind the key rule is that less is more. Don't over-manipulate.


