How to Make a DIY Flash Soft Box Diffuser For Your Camera FlashBuild a DIY flash softbox to place over a flash gun to soften the harshness of the flash burst, spread the light out and reduce the harsh shadows.
This is a collection of a few DIY flash softbox ideas for built-in flash photography and external flashes.
A flash softbox, or diffuser, helps remove heavy shadows created by the harshness of the strong lighting.
Paper flash softbox for built-in flashes

The cheapest softbox is a piece of paper sellotaped over the flash. I've used this technique many times with great effect and it works well for popup flashes where you cannot buy diffusers. Be careful not to allow the paper to touch the flash, as the heat produced can be quite intense. Not only can you potentially set fire to the paper, but also it will damage your flash. Variations of this design can be used for all kinds of flashes.
Milk Bottle Diffuser


A cheap alternative to purchasing a diffuser for an external flashgun is to use the bottom of a plastic milk bottle. Just cut it down to size and tape it into place. The results are not as good as a purchased diffuser, but for the price and a little colour correction, the results are perfectly acceptable.
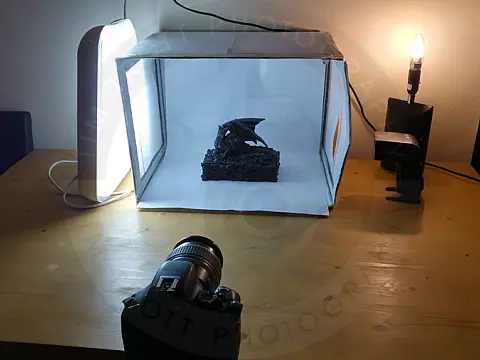
DIY Flash Softbox Diffuser
It's quite easy to make your flash softbox diffuser out of an old cardboard box, paper and sticky tape.

Start off by selecting a suitable sized box. It should be roughly square and be large enough to create a softbox but not so large the flash will be lost. Lay down the flash next to the box and mark out on the box where the flash will be located.

Cut out the markings which will narrow the opening and will hold the flash.


Cut a sheet of plain white paper about 1cm larger in circumference than the area of the softbox opening and make a slit diagonally inwards from the corners. The paper should then fit over the opening and be taped securely to the outside of the softbox.

The softbox can now be fitted over the flash head and used. Because the flash is now diffused, you may need to adjust the exposure compensation to regain correct exposure.